Sunday, December 29, 2013

Yamadori Korean Hornbeam #4


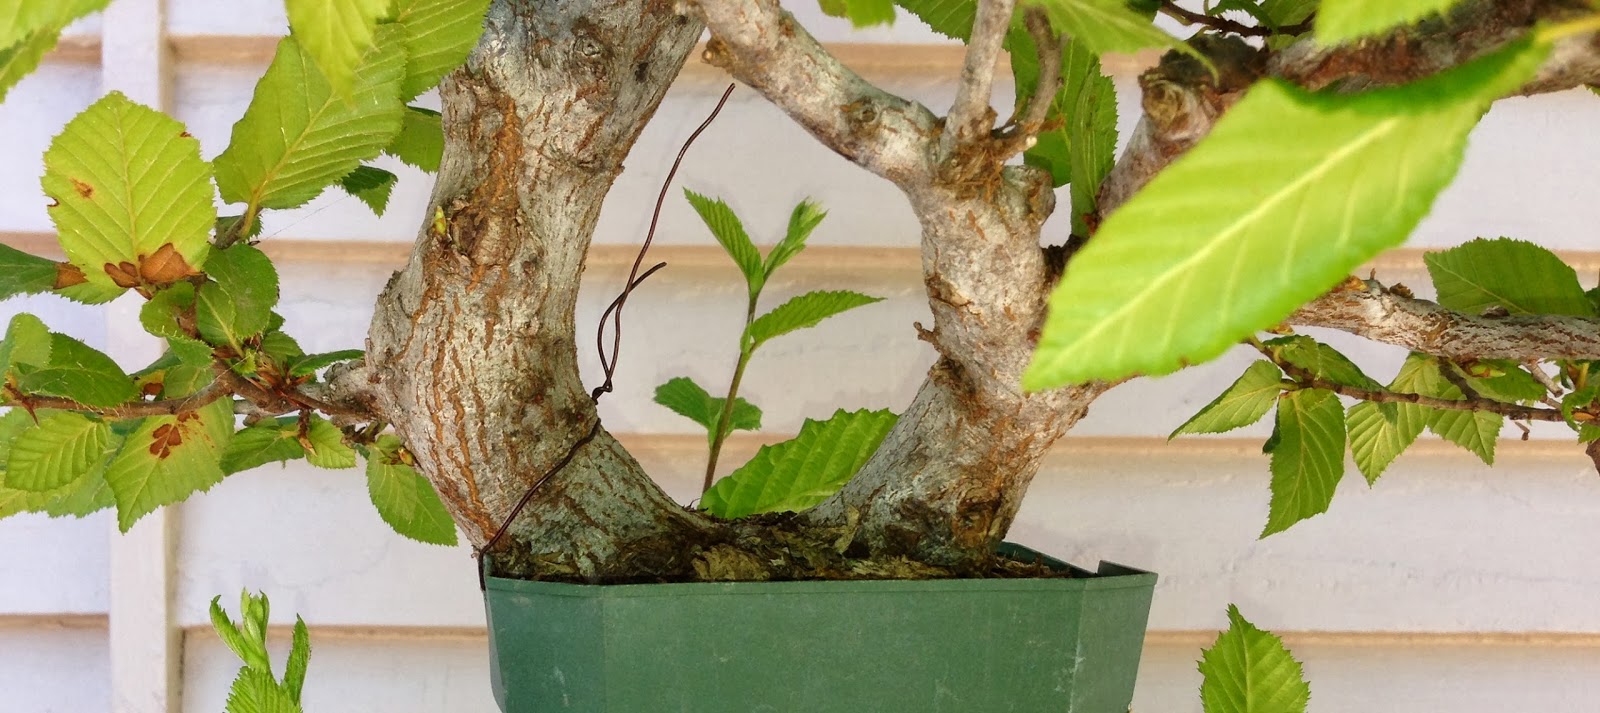
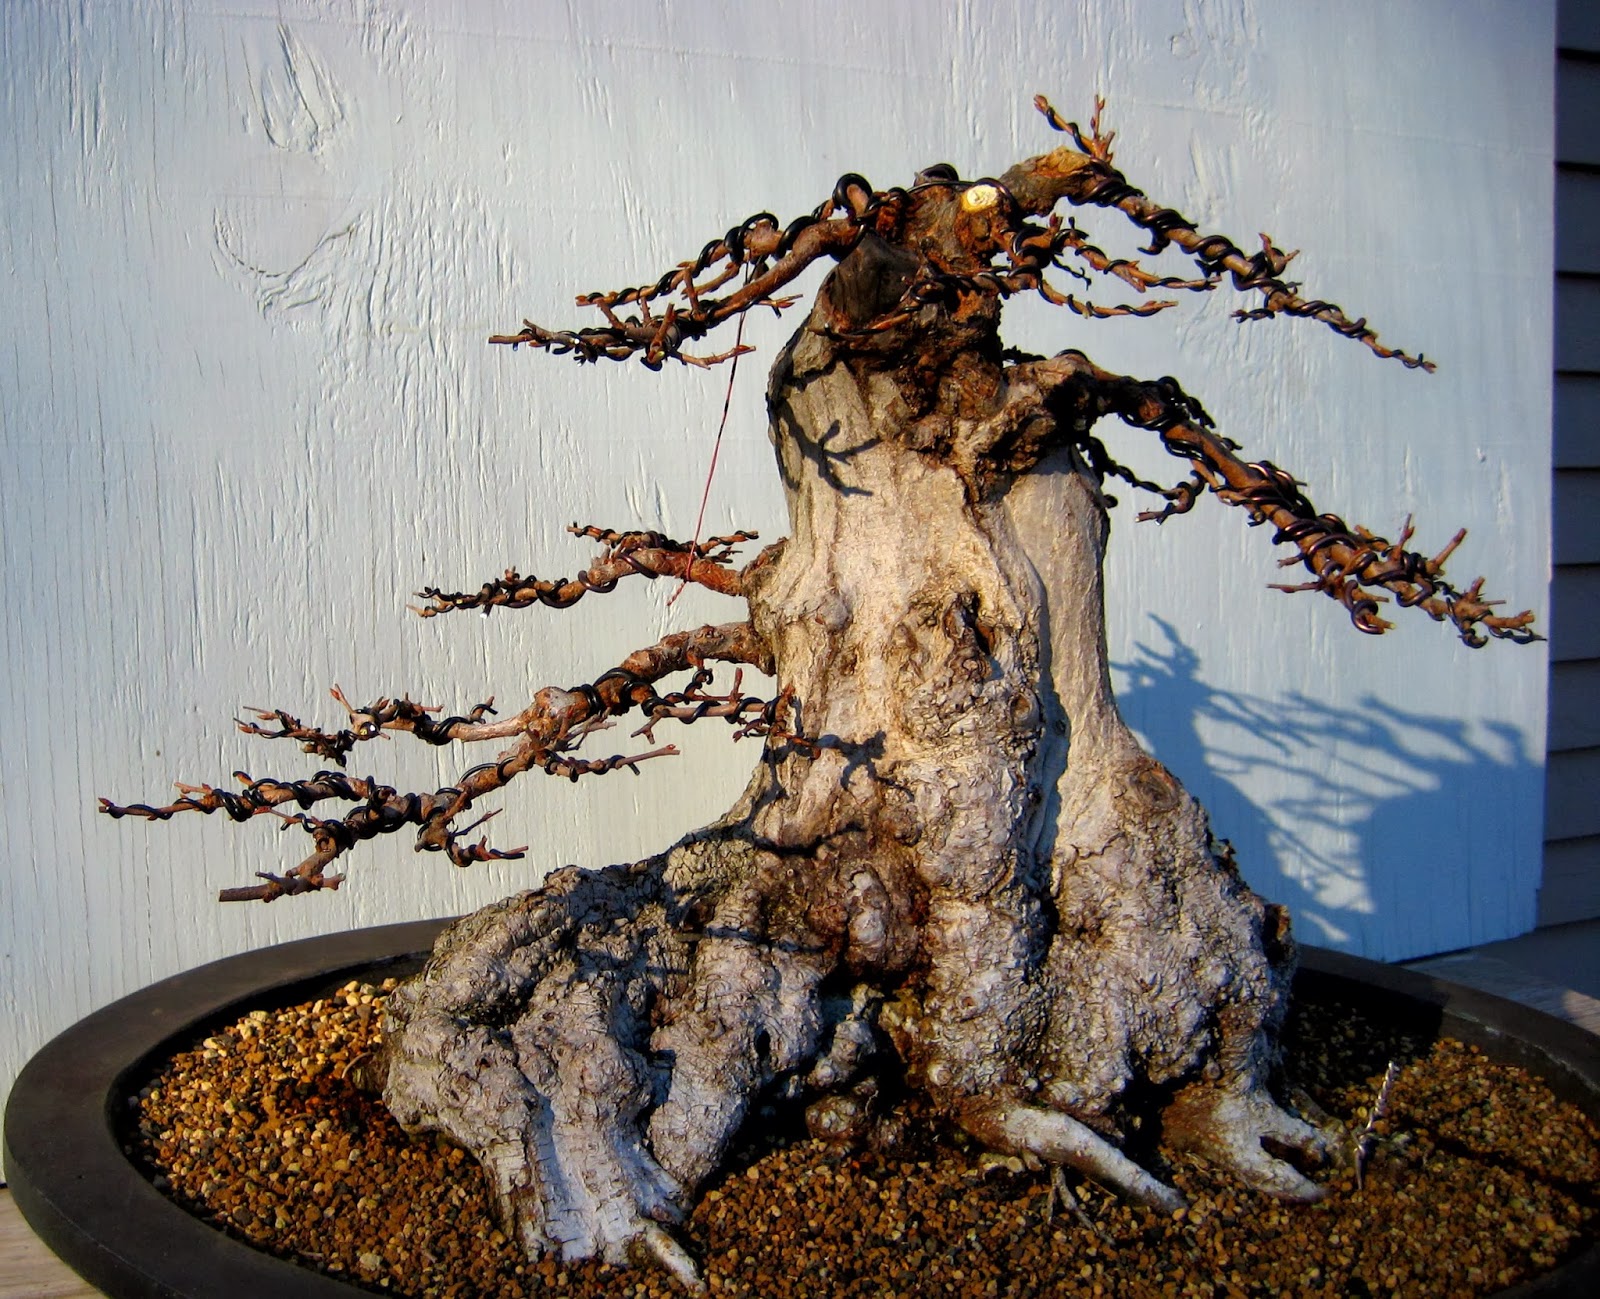
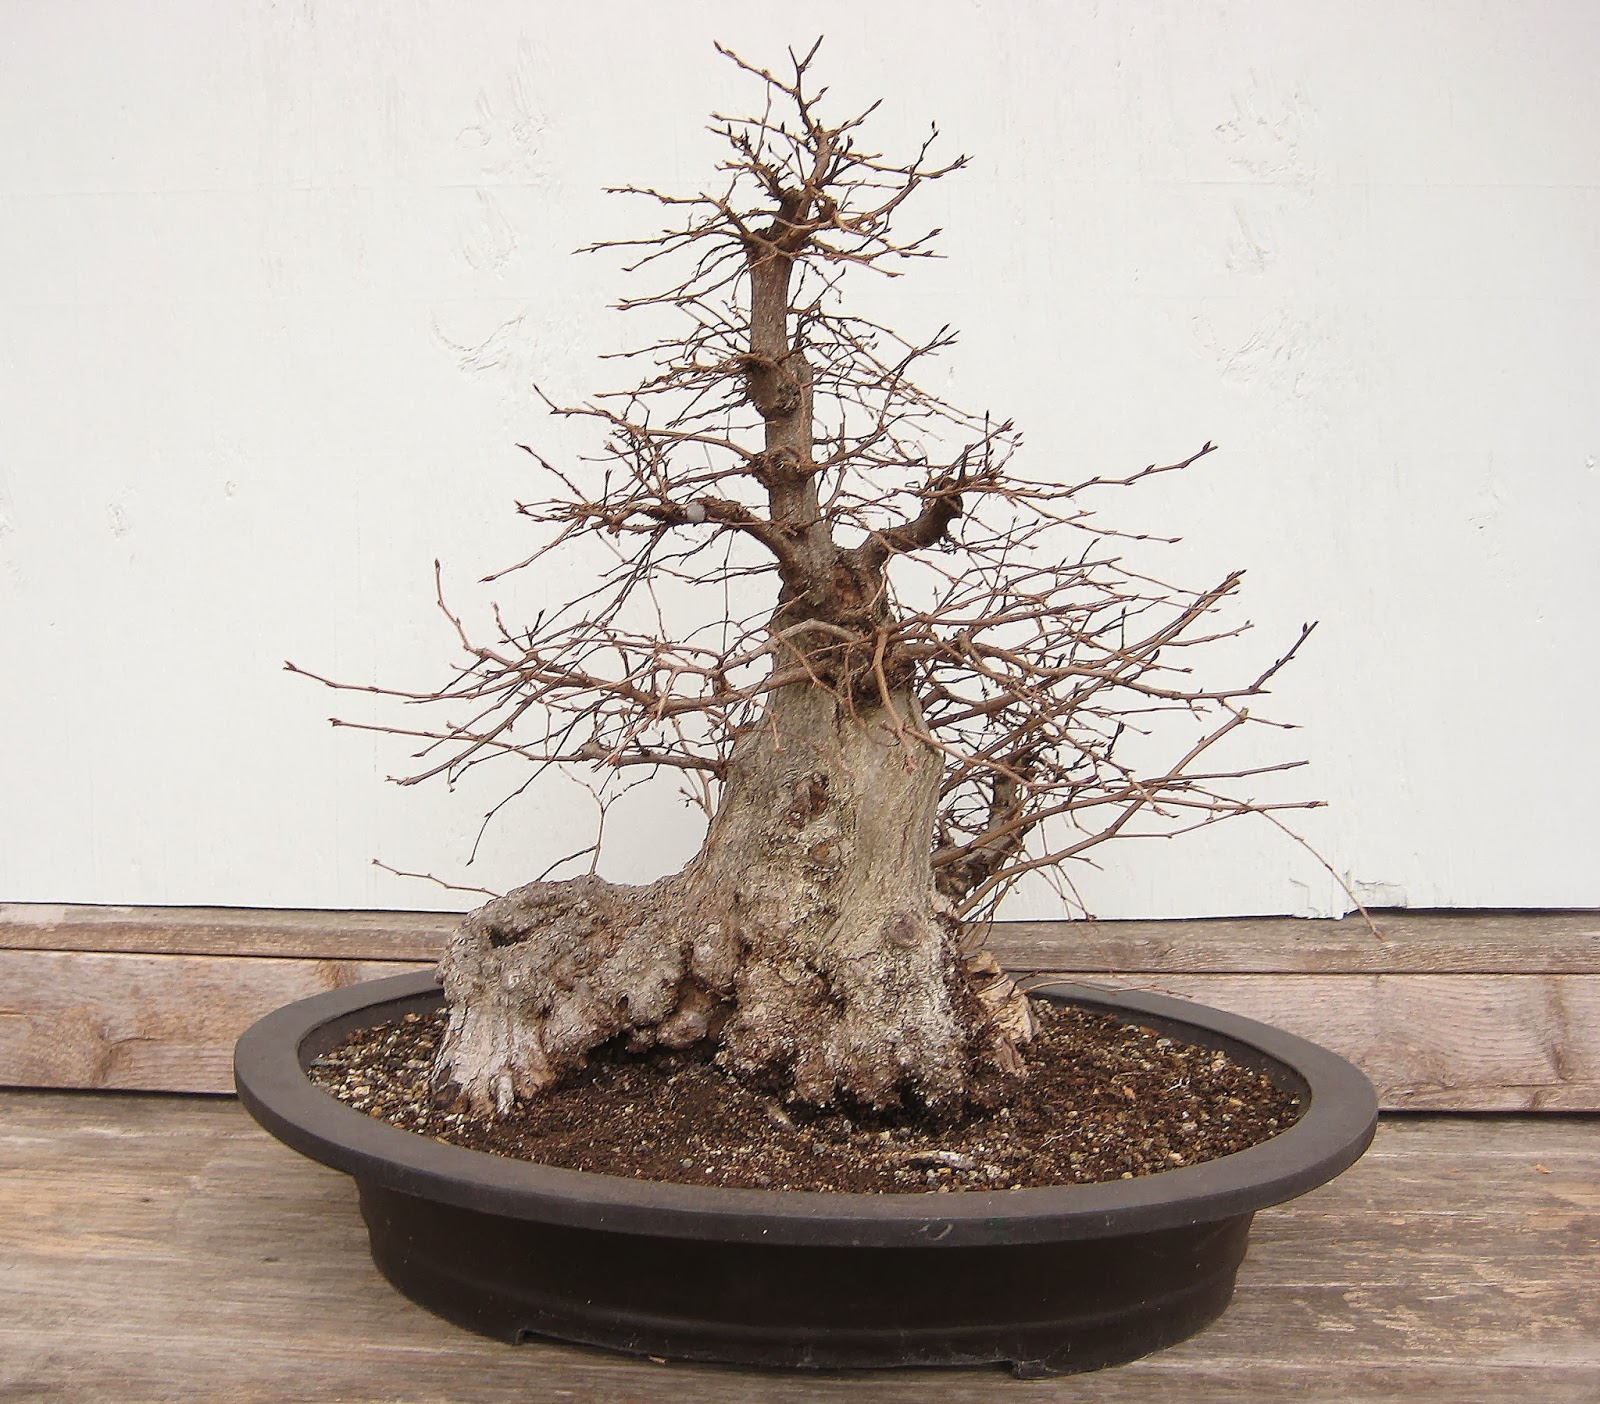
At the beginning of the incredible story of Shinji Susuki, Bonsai Works of Divinity, it was said that, "a bonsai has a universe within itself."  I think that analogy really fits this old, collected tree.  I purchased this material from Bonsai West in the winter of 2009.  I was just enamored by the enormous, melting base, however, the apex was too straight and lacked taper.  In the winter of 2010, I removed the apex and most of the original branches were cut back to a stub.  With assistance from local bonsai artist, Haidar Kazem, the rotting section near the apex of the tree was carved out.  Over time, I realized this section could make an interesting focal point and the small tree growing out from the base could also be part of the composition if this side was made the viewing front.

The tree in 2009 at Bonsai West


A year later, before branch trimming and carving...


After pruning and during carving...
 
 
and today...


Thursday, December 26, 2013

Oak Leaf Hornbeam Air Layer (cont.)


As promised from my previous post, I've included photos of the top section of the Oak Leaf Hornbeam and what remains of the bottom section. 
 
The bottom will make a nice formal upright/broom design and has developed a nice flaring nebari in only a couple years while growing in a shallow wooden training box.  Branches were left to grow freely over the last few years, but were cut back to a stub to develop two, even three additional branches from that location this past summer.  Primary branching is now in place for the most part, although, the right side needs to thicken next year.  The tree is chuhin height.


The top section is a fine example of the unique twists and turns that can develop naturally at the apex of a tree, which is precisely why many of these top sections make such interesting bonsai material.  Most of the branching already has movement and is well refined, so I don't expect to wire the entire tree, but will make every attempt to accentuate the natural appearance. 


Wednesday, October 30, 2013

Oak Leaf Hornbeam


During college I served as a volunteer for the American Bonsai Society (ABS) for several years, mainly editing articles and writing the ABStracts column.  During that time period, I was fortunate to visit the beautiful Oregon Coast town of Sweet Home and interviewed one of the owners of Cascade Bonsai Works, Dan Zwierzyna, with the intent of writing and publishing an article for the ABS Journal.  At some point after my visit, the nursery unfortunately closed, but their material was purchased and made available by Wee Tree Farm.  It was at Cascade Bonsai Works that I encountered my first Oak Leaf Hornbeam.

I have always admired Carpinus as followers of my blog know, so I was especially intrigued by this rare form of European Hornbeam.  It was labeled Carpinus betulus ‘Quercifolia’ at the nursery, but my recent research indicates it is now referred to as Carpinus betulus ‘Heterophylla’.  I had originally purchased several larger trees from Dan, but eventually sold them during a time that I wasn’t akin to having any trees larger than chuhin size.

I was fortunate to acquire one again in 2010 from Wee Tree, although I have never seen the leaves on this tree revert to the oak like structure, as I saw on a few of the specimens at the nursery.  I’ve been told that the oak like leaves on this species do not form immediately and generally come with age, but I have yet to see any on this tree.  They do turn brown and hang on to the tree during dormancy, similar to many oaks, but this is also a characteristic of many hornbeams.  I purchased it with the intent on air layering the top, unsure as to what may come of the bottom portion. 

My first attempt in 2012 to air layer this tree was unsuccessful.  Upon inspecting the location of the layer last year, there was a slim portion of the cambium – no more than 1/8”, that managed to successfully transfer enough nutrients to keep the top section alive on the existing root system.  This year, I used the same location, paying special attention to removing all signs of living tissue and girdled the top portion of the layer with wire to further discourage the cambial tissue from forming again.

The layer was successful and removed in September of this year.  I plan to further develop the bottom section, possibly in the broom style.

By the way, that article was published in the NBS, but the wrong author was listed, believe it or not.  I’m sure that person has gone on to have a successful writing career! 

The tree in 2010
 
 
The tree in 2013

 
The air layer


I will post some photos of the potted layer and bottom tree once dormant.  We are experiencing a long, warm fall here in southeastern Nebraska and many trees are just turning.


Saturday, July 7, 2012

Alaskan Yellow Cedar


I had the pleasure of participating in Dan Robinson's workshop on Alaskan Yellow Cedar a few weeks ago at the Visions of the American West convention in Denver.  Enrolling in this workshop was a bit risky since I wasn't familiar with this species, but I couldn't pass up an opportunity to work with Dan.  The taxonomy of the Alaskan Yellow Cedar is seemingly ever changing as described here.  In fact, its Latin name was changed yet again as recently as 2002.  Dan digs these from an alpine bog on Vancouver Island, where the acidity level of the soil is so high, it's hard to imagine life existing at all.  Along with each workshop tree, we were given a portion of the trunk to determine the age of the tree.  These trees continually layered, producing new roots as the ground level raised, so each had a portion of the trunk that was underground.  The growth rate is so slow, I will need to have this examined microscopically.  He estimated the age of his demonstration tree at 600 years. 


I did not capture photos of the other trees from the workshop, but most were slanted without much movement in the trunk line.  Dan mentioned that he was tempted to air layer many of these trees since the tops had such interesting deadwood and the many of the trunks lacked taper.  The tree I chose was the only one that was relatively columnar, but yet, it seemed to have some movement in the trunk when viewing from a certain angle.  Most of the four hour workshop was spent on carving using a Mikita die grinder - Dan's weapon of choice.  I spent the last half hour or so wiring the foliage.  Dan and I disagreed somewhat on the front, as he felt it was best to expose as many gnarled dead branches as possible, whereas, I preferred to expose the most trunk movement and taper, as seen here...


Many older trees, especially yamadori, have a main point of interest.  As bonsai artists, it is our objective to first see this, but then also to accentuate and draw focus to it.  This tree on the other hand seems to have many areas of interest, from its hollow trunk, to the gnarly jin at the base, which at one point was a root, to the intense dead, gnarled branches, to the beautiful array of colors seen when exposing the inner bark.


The tree seems to be adjusting fine to Nebraska, despite our very hot and humid conditions as of late.  It will be interesting to see how the tree reacts to transplanting and adjusting to a less acidic soil.  More photos of the convention and workshops, including some of myself and Dan working on this tree can be found here.

Saturday, February 25, 2012

Larch Hybrid


This collected larch came to me from Alan Adair.  A Japanese/American hybrid.  This is the only photo I could locate of the tree at the time of purchase.


Last spring, I changed the planting angle to expose less surface roots and began the makings of a semi-cascade style bonsai.  I wired it this past week.  The base has definite interest, but so does the trunk that seemingly twists towards the sun.  I believe you can appreciate both with the new front.


Tuesday, February 7, 2012

Kifu Korean Hornbeam


This is one of two yamadori Hornbeams that I picked up last spring. Both are Kifu size, but I plan to shorten the other to create a smaller, shohin package. Both were left to grow freely last year to gain vigor. I had a major decision to make before working this tree – which side to make the “front.” I studied this tree occasionally since it went dormant, but it was never clearly evident.

On one side (pictured above), the negative is a large wound up about the middle of the trunk, but the taper is slightly more dramatic because of it and there is also nice taper to the root base. The collected Korean Hornbeam's typically don't have much of a root spread at the base, but rather a wood mass that has formed from all of the budding along the base of the trunk. There isn't much branching on this side of the tree, mainly because of the wound.

The other side has no large wounds to think of, and nice, even flowing taper to the apex. Plus, the apex branch has slightly better taper and secondary branching. This side also has a lot of branching, which I would need to thin if making it the front to expose the trunk line. Not a big deal, but I'd rather have these branches to the side/back and wire them to bring them to the front.

Quite the dilemma, huh? I chose the side with the wound. Why? Simple - the nebari rules all. The stronger nebari/base taper that flowed to the soil level made for the most appeal.

I began with cleaning out the wounds. As I chipped away at the layer of cut paste, I saw a black color to the bark, which meant the top layer of the exposed wound had begun to rot under the paste. I dug out the rotted layer using a chisel from this carving kit. In addition to carving out the rotted wood, I attempted to expose a new layer of cambium around the edge to induce healing again of the wounds. Ever since spending a day with Dan Robinson at his gardens in Washington, the use of my knob cutter has been dwindling. Dan swears against the tool all together. I only use the knob for real soft wood, generally Japanese or Trident maples. When working Hornbeam, I usually carve a short jin or stub, then use my carving tools to blend the wound using the adjoining contours of the tree. Since the newly exposed wood can be fairly bright, I usually burn the exposed wood to darken the color.

After all of the cleanup, it really came down to picking branches and wiring. The tree was heavy branched on the back side, so I brought one of these forward to create my first branch. I think the rest came together nicely and this should make a very nice bonsai in the years to come. I will change the planting angle slightly to hide the stubbed roots on the back side of the tree and plant this into a smaller, deep oval, come spring time.


Friday, July 29, 2011

Jim Barrett


I recently made a trip to the West Coast and was able to squeeze in a few nursery stops. Since life largely revolves around traffic in L.A., I wasn’t sure what to expect as I began my trek, but after an anxiety-tinged commute from Costa Mesa to the L.A. area, I finally made it to Jim Barrett’s place in Arcadia. It was a muggy, hot day, but the air was relatively clear, so I was continually distracted by the mountain range to the north of Arcadia. As I pulled on to Jim’s street, I noticed a beautifully styled pine near the street’s edge. It was a Japanese Black Pine that Jim has been training for a number of years, accented by Black Mondo Grass.


As I pulled up in front of Jim’s house, I noticed a massive Ginkgo, but the base was gnarly and it had a different form than the mature Ginkgo’s lining the street in downtown Lincoln. It was a Chi Chi cultivar that Jim has grown from a cutting since the ‘60’s. The growths that develop, called Chi Chi, from the main trunk can also be seen on other Ginkgo cultivars once they reach a certain age, so the ‘Chi Chi’ cultivar is known more for its distinct growth habit – producing a large number of main and secondary branches, which is unusual for Ginkgo. Also, it does sport smaller leaf, making it ideal for bonsai.


Jim recently decided to part with this Twisted Trunk Pomegranate (more about these in a future post) and was discussing the purchase with a potential buyer over the phone. 


After viewing his collection and the stock Jim had for sale, I made it into his pottery shed, which featured a number of his own designs, but also a nice collection of Chinese and Japanese pottery. This page from the Brandywine Bonsai Society’s site shows the variance in Jim's pottery. The rest of the afternoon was spent viewing his pottery catalog and discussing bonsai over a cold beer.  Perfect.  Check out the rest of the photos...

Sunday, February 27, 2011

Ume


This Japanese Apricot came to me via Luigi Trapani of Southeast Bonsai Studio. Of all the diligently refined trees sitting on Luigi's bench, this one really communicated to me. During one of our trimming sessions, Luigi kindly allowed me to work it. I ended up leaving Savannah with it after parting with some of my nice J. maple stock. I've determined that it could have two fronts, so I plan on moving it to a round container when it begins to break dormancy. Still looking for that right container. It is a pink blooming cultivar, but I have not exposed the tree to warm enough temps to induce blooming.

I like the angle on this first photo...